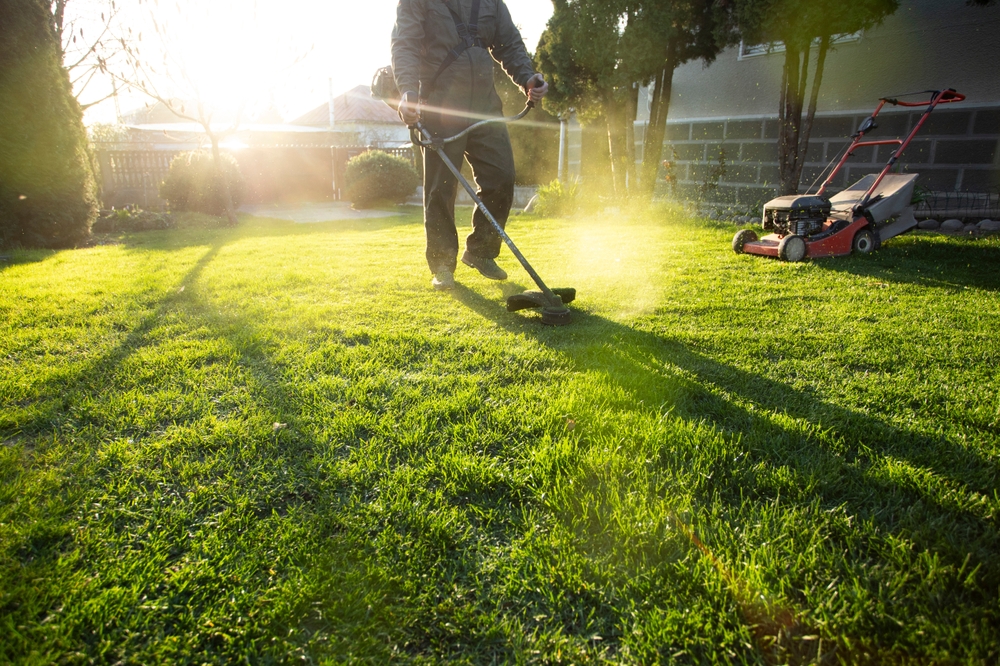
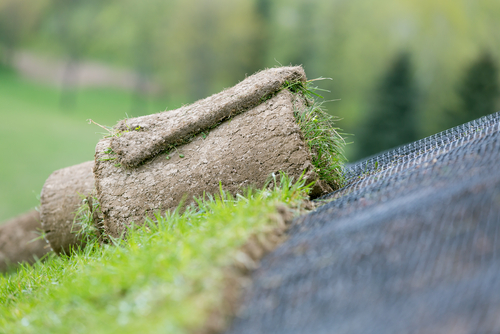
As the days grow longer and the temperature rises, spring presents the perfect opportunity to rejuvenate your lawn. Whether your grass has been a victim of winter’s harsh conditions or it’s just showing signs of neglect, revitalizing your lawn can be a satisfying and rewarding endeavor. Achieving that lush, green look everyone desires for their yard requires a bit of effort, attention to detail, and the right tools. In this post, we’ll cover expert advice on how to bring your lawn back to life and ensure it thrives throughout the season.
The Importance of Spring Lawn Care
Spring is a time of renewal, and your lawn is no exception. After the cold winter months, the soil is often compacted, and grass is dormant. The first step in revitalizing your lawn is understanding why spring care is essential. During the winter, your lawn may experience issues like patchy grass, dead spots, or weeds taking hold in areas with thinning turf. Spring provides a fresh start for your lawn, as the temperatures begin to rise, allowing grass to grow again and giving your lawn the best chance for a healthy, vibrant look.
Caring for your lawn in the spring ensures that it gets a head start in the growing season. Regular maintenance during this time not only helps the grass grow stronger but also prepares it to withstand summer’s heat and drought. By nurturing the lawn now, you set the foundation for a beautiful outdoor space that will flourish all year long.
Prepare Your Lawn Equipment for the Season
To successfully revitalize your lawn, you must ensure that your tools are up to the task. Lawn care requires various pieces of equipment, such as mowers, trimmers, and aerators. However, tools that haven’t been properly maintained may not function efficiently, or worse, may break down halfway through a job. Taking the time to service and repair your equipment can make a huge difference in the ease and quality of your lawn care.
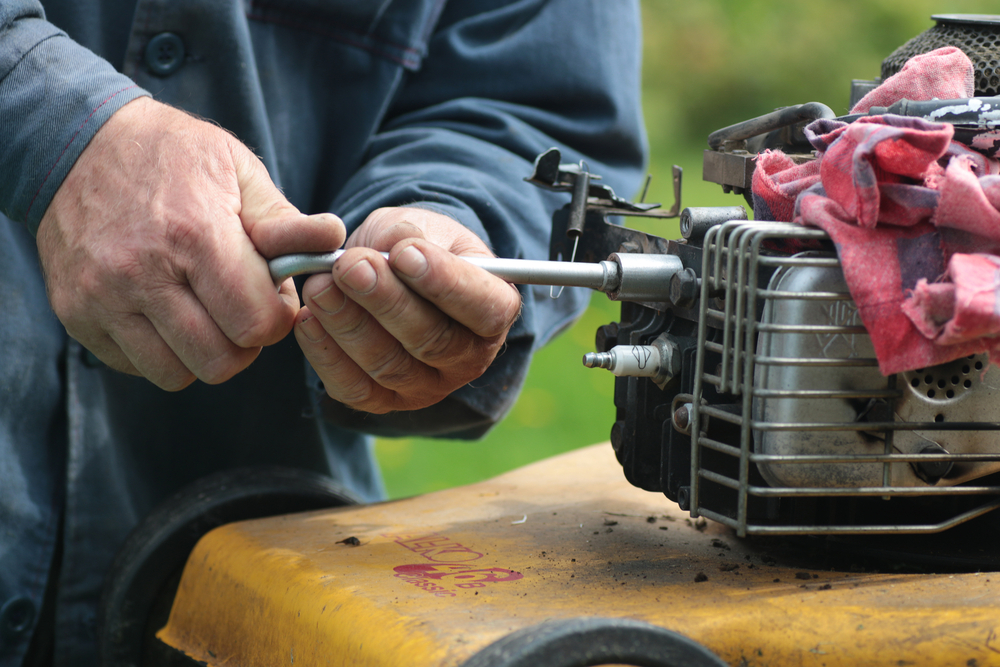
For instance, mowers should have sharp blades to cut the grass cleanly without tearing it, as ragged cuts can make your lawn more susceptible to diseases. Trimmers and edgers should also be in good working order, providing clean lines and neat edges. If you live near Bells, TN, visiting a Power Equipment Repair Shop in Bells, TN, can help ensure that your equipment is tuned up and ready to go. Many repair shops also offer seasonal check-ups, so make sure to give your tools a thorough inspection before beginning your lawn care routine.
Additionally, don’t forget to clean and lubricate your equipment. Grass clippings and dirt can build up on blades and moving parts, reducing the performance of your tools. Regular maintenance will not only extend the life of your equipment but will also allow you to complete the work with greater ease and efficiency.
Lawn Aeration: A Crucial First Step
One of the most important things you can do for your lawn in the spring is aeration. Aerating your lawn means creating small holes in the soil to allow air, water, and nutrients to penetrate deeper into the root zone. Over time, the soil can become compacted, especially after a wet winter or heavy foot traffic. Compacted soil restricts root growth and makes it difficult for grass to access the necessary nutrients and moisture it needs to thrive.
There are several methods of aerating a lawn, from manual tools to professional-grade machines. A popular option is to use a lawn aerator that pulls plugs of soil out of the ground, leaving small holes that help break up the compacted earth. If you’re not sure how to go about aerating your lawn or don’t own an aerator, many local lawn care services or garden centers offer rental options. You could also visit a Power Equipment Repair Shop in Bells, TN, where they may rent or service aerating machines.
Once you’ve aerated your lawn, you’ll notice improved drainage and better root development, which will help your grass grow stronger and more resilient as the season progresses. Aeration is particularly important for lawns with heavy clay soil or thatched layers, as it improves soil structure and promotes healthier grass.
Fertilizing Your Lawn for Optimal Growth
Fertilizing your lawn is essential for providing the nutrients it needs to thrive. As grass begins to grow again in the spring, it requires a boost of nutrients to help it grow thick, green, and healthy. Nitrogen, phosphorus, and potassium are the key nutrients to look for in your fertilizer. Each of these components supports different aspects of growth—nitrogen helps with the development of lush, green grass; phosphorus promotes root growth; and potassium increases the plant’s overall strength and resilience to disease and drought.
Spring is an ideal time to apply a balanced fertilizer, but be careful not to overdo it. Over-fertilizing can lead to excessive growth and may make the grass more susceptible to pests and diseases. A good rule of thumb is to fertilize in early to mid-spring, when the grass is actively growing, but wait until the soil has warmed up to at least 55°F to avoid wasting fertilizer. Follow the instructions on the fertilizer label and ensure you spread it evenly across the lawn for consistent results.
In addition to synthetic fertilizers, organic options such as compost or well-rotted manure are excellent for enriching your soil and providing long-term benefits. Organic fertilizers improve soil structure, enhance microbial activity, and increase nutrient retention, creating a healthier lawn over time.
Overcoming Weeds and Pests
Weeds and pests are inevitable parts of lawn care, but with the right approach, you can keep them under control. Spring is when many weeds begin to emerge, so it’s important to act early to prevent them from taking over your yard. Pre-emergent herbicides are an effective way to stop weed seeds from germinating. These herbicides form a barrier on the soil surface, preventing weeds like crabgrass and dandelions from taking root.
However, if weeds have already made an appearance, you’ll need to address them with post-emergent herbicides or manual weeding methods. It’s important to choose herbicides that are suitable for your grass type and to apply them according to the manufacturer’s guidelines to avoid damaging your lawn. For those who prefer a more natural approach, hand-pulling weeds or using an organic weed killer can also be effective.
In addition to weeds, pests such as grubs, ants, and other insects can wreak havoc on your lawn. Pests often cause damage by feeding on grass roots or creating unsightly tunnels. To combat pests, it’s essential to monitor your lawn regularly. If you notice signs of pest infestation, such as brown patches or small mounds of soil, it may be time to apply an appropriate insecticide. Be mindful of the timing of pesticide applications to minimize the impact on beneficial insects like bees and butterflies.
Regular lawn inspections and early intervention will help keep your lawn healthy and free from weeds and pests. With diligent care, your yard will look pristine and inviting all season long.
Conclusion
Revitalizing your lawn for the spring requires a combination of good practices, timely care, and the right equipment. Aeration, fertilization, and weed control all play critical roles in helping your lawn grow lush and healthy. However, before you begin any of these tasks, make sure your lawn equipment is in top shape. Whether you visit a Power Equipment Repair Shop in Bells, TN, for a tune-up or do it yourself, well-maintained tools ensure that the job gets done efficiently and effectively.
By following these expert tips and staying proactive about lawn care, you’ll enjoy a vibrant, beautiful lawn that enhances the curb appeal of your home and provides a relaxing outdoor space for your family to enjoy. Start your lawn revitalization journey today, and watch as your yard transforms into the envy of the neighborhood this spring.
Lawn mowers are essential tools for maintaining a neat and tidy yard. However, when the mowing season ends, proper storage is key to extending the life of your lawn mower and ensuring it’s ready to go when spring arrives. Improper storage can lead to mechanical issues, rust, or even total equipment failure. Here, we’ll cover step-by-step instructions for properly storing your lawn mower during the off-season.
Why Proper Lawn Mower Storage Is Important
Lawn mowers are an investment, and maintaining them extends their lifespan. Improper storage can result in issues such as:
Corrosion: Moisture can cause rust, damaging metal parts.
Engine Problems: Old fuel left in the tank can degrade and clog the carburetor.
Safety Hazards: Poorly stored mowers can pose risks to children or pets.
By following proper storage techniques, you’ll save money on repairs and replacements while keeping your mower in excellent condition.
Preparing Your Lawn Mower for Storage
Before you store your lawn mower, it’s crucial to prepare it correctly. This includes cleaning, inspecting, and addressing any mechanical needs.
Step 1: Clean the Mower
Over time, grass clippings, dirt, and debris can build up on your mower, leading to rust or mechanical failure. A thorough cleaning helps prevent these issues.
Disconnect the Spark Plug: Safety first! Disconnecting the spark plug prevents accidental starts.
Remove Grass Clippings and Dirt: Use a brush or hose to remove debris from the blades, wheels, and undercarriage.
Dry Thoroughly: Wipe down all components to ensure no moisture remains.
Step 2: Inspect for Damage
Look for signs of wear and tear on your lawn mower. Check:
Blades: Are they dull, chipped, or bent?
Belts and Cables: Are there cracks or frays?
Tires: Do they have sufficient tread and air pressure?
Addressing these issues now will save you from unpleasant surprises next season.
Step 3: Change the Oil
Old oil can thicken and lose its lubricating properties during the off-season. Here’s how to change it:
Drain the old oil by tilting the mower or using an oil extraction pump.
Refill with fresh oil recommended by the manufacturer.
Step 4: Drain or Stabilize the Fuel
Gasoline degrades over time, forming a varnish-like substance that can clog your carburetor. You have two options:
Drain the Fuel: Run the mower until the tank is empty.
Use a Fuel Stabilizer: If you prefer leaving fuel in the tank, add a stabilizer to prevent degradation.
Choosing the Right Storage Location
Where you store your lawn mower matters. Ideal storage spaces should protect your equipment from moisture, extreme temperatures, and pests.
Indoor Storage
Indoor storage is the best option for protecting your mower. Consider these locations:
Garage: Ensure the area is dry and free from chemical spills.
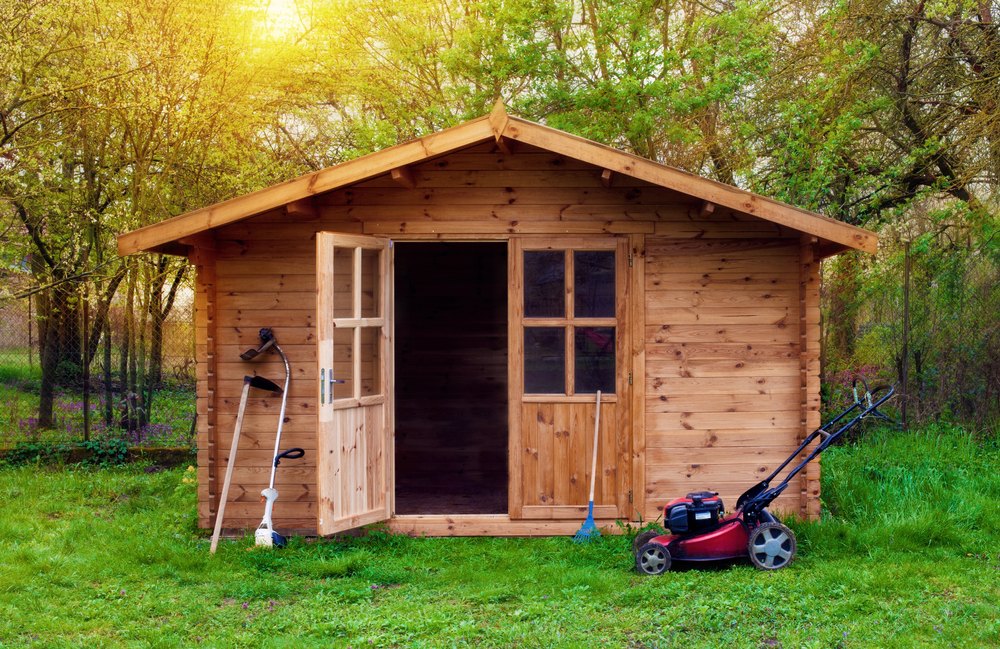
Shed: A weatherproof shed is excellent, but consider pest control measures.
Basement: Only store the mower here if it’s free of gasoline and oil to avoid fumes.
Outdoor Storage
If indoor storage isn’t an option, take extra precautions:
Cover the Mower: Use a weatherproof tarp or a custom cover to shield it from rain and snow.
Elevate: Place the mower on blocks or a pallet to prevent water damage from ground moisture.
Choose a Sheltered Spot: Store the mower in a location that’s least exposed to the elements.
Special Considerations for Different Types of Lawn Mowers
Not all lawn mowers are the same. The storage needs can vary depending on whether you have a gas-powered, electric, or push mower.
Gas-Powered Mowers
Follow the preparation steps outlined above, paying special attention to fuel and oil. Gasoline engines require extra care to prevent clogging and rust.
Electric Mowers
Remove the Battery: Store it in a cool, dry place to maintain its charge.
Check the Cord: Inspect for frays or damage.
Clean the Deck: Electric mowers still accumulate grass clippings and dirt.
Push Mowers
Push mowers are relatively low-maintenance but still require cleaning and blade inspection. Ensure the handles are folded or secured to save space during storage.
Long-Term Storage Tips
For long-term storage, additional steps can further safeguard your mower:
Lubricate Moving Parts: Apply a light coat of oil to prevent rust.
Protect Blades: Spray the blades with a rust inhibitor or wrap them in protective material.
Keep Pests Out: Seal openings to prevent rodents from nesting inside the machine.
Maintenance During the Off-Season
Even during storage, occasional maintenance ensures your mower stays in top condition.
Check Periodically: Inspect for rust, leaks, or pest activity.
Recharge Batteries: For electric mowers, recharge the battery every few months.
Rotate Tires: If your mower has tires, rotate them to prevent flat spots.
Common Mistakes to Avoid
Skipping Cleaning: Dirt and debris left on the mower can cause corrosion.
Neglecting Fuel Stabilizer: Old fuel can lead to costly repairs.
Improper Covering: Using non-breathable materials can trap moisture and encourage rust.
Storing in Damp Locations: Moisture is the enemy of all mechanical equipment.
When to Bring Your Mower Out of Storage
When the grass starts growing again, it’s time to bring your lawn mower out of storage. Follow these steps to prepare it for the season:
Reconnect the Spark Plug: Ensure it’s securely attached.
Refill the Tank: Use fresh gasoline or reattach the fuel line.
Check the Blades: Sharpen or replace them if needed.
Test the Mower: Start the engine and ensure everything runs smoothly.
Conclusion
Properly storing your lawn mower during the off-season not only ensures its longevity but also makes your life easier when it’s time to tackle your lawn again. By following these comprehensive steps, you’ll protect your investment and enjoy a hassle-free mowing season year after year. Remember, a little effort now saves you time and money later!
Lawn mowers are essential for keeping lawns neat and attractive, but like any machine, they require regular maintenance to function efficiently. By taking a little time to maintain your lawn mower, you can ensure it runs smoothly, cuts evenly, and lasts for years to come. In this guide, we’ll explore essential steps and tips to help you care for your lawn mower and maximize its lifespan.
Why Lawn Mower Maintenance Matters
Your lawn mower is an investment, and with the right care, it can deliver better performance and avoid costly repairs. Regular maintenance not only keeps your mower in top shape but also enhances the health of your lawn. A well-maintained mower will deliver cleaner cuts, which helps prevent lawn diseases and promotes healthy grass growth.
Preparing for Lawn Mower Maintenance
Before diving into maintenance, it’s important to gather the necessary tools and equipment. You’ll need:
Safety gloves
A wrench set
Cleaning brush
Spark plug wrench
Motor oil (for oil changes)
Air filter replacement (if necessary)
Fuel stabilizer (optional)
Once you have your tools ready, be sure to turn off your mower and disconnect the spark plug to prevent any accidental starts.
Safety First
Always prioritize safety when performing any maintenance on your lawn mower. Disconnecting the spark plug, wearing gloves, and keeping your mower on a flat surface can help prevent accidents. Make sure to read your lawn mower’s manual for specific instructions, as different models may have unique maintenance requirements.
Essential Steps to Maintain Your Lawn Mower
Let’s break down the key steps you need to keep your lawn mower running efficiently.
1. Clean the Mower After Each Use
One of the simplest ways to maintain your lawn mower is to clean it after each use. Grass clippings, dirt, and other debris can build up under the mower deck and around the blades, which can cause corrosion and reduce cutting efficiency.
Cleaning the Deck: Use a brush or a hose to remove grass clippings and dirt from the mower deck. For a deeper clean, use a scraper to remove stuck-on debris.
Blow Out Clippings: Use an air compressor or a leaf blower to remove any clippings stuck in hard-to-reach areas.
2. Sharpen the Blades Regularly
Sharp blades are crucial for a clean cut. Dull blades tear the grass, which can lead to uneven cuts and increase the risk of lawn disease.
Frequency: Aim to sharpen your blades at least once per mowing season, or more often if you mow frequently.
Removing the Blade: Disconnect the spark plug, then use a wrench to remove the blade. Mark the bottom of the blade to avoid reattaching it incorrectly.
Sharpening Process: Use a file or a sharpening tool to sharpen the blade, then reinstall it securely.
3. Change the Oil Annually
Just like a car engine, your lawn mower’s engine needs clean oil to run smoothly. Dirty oil can cause wear and reduce engine life.
Checking Oil Levels: Regularly check the oil level before each use to ensure the engine is adequately lubricated.
Changing the Oil: Run the engine for a few minutes to warm up the oil, then drain it by removing the oil plug. Refill with the recommended oil type as specified in your manual.
4. Replace or Clean the Air Filter
A clogged air filter restricts airflow to the engine, leading to reduced performance and potentially overheating. Replacing or cleaning the air filter can make a big difference in how well your lawn mower runs.
Types of Air Filters: Most mowers use either a paper or foam air filter. Paper filters should be replaced, while foam filters can be cleaned and reused.
Cleaning the Filter: If you have a foam filter, wash it with warm, soapy water, then let it dry completely before re-installing.
5. Inspect the Spark Plug
The spark plug is a small but critical component that ignites the engine. A worn or dirty spark plug can make your lawn mower difficult to start and reduce its efficiency.
Checking for Wear: Inspect the spark plug for signs of wear or buildup. If it’s dirty or corroded, it’s best to replace it.
Replacing the Spark Plug: Use a spark plug wrench to remove the old spark plug, then screw in the new one securely, being careful not to overtighten.
Seasonal Lawn Mower Maintenance Tips
In addition to regular maintenance, seasonal care is essential to prepare your lawn mower for the off-season or intense mowing during spring and summer. Let’s go through what you need to do before storing your mower and after winter ends.
6. Winterizing Your Lawn Mower
When the mowing season ends, properly storing your lawn mower can help prevent damage and make it easier to start up next spring.
Empty the Fuel Tank: Old fuel can clog your carburetor and cause issues. Run the mower until the fuel is used up or use a fuel stabilizer if you plan to store it with fuel.
Clean Thoroughly: Give the mower a deep clean, removing any remaining grass clippings and debris.
Store in a Dry Place: Keep your lawn mower in a dry, sheltered area, ideally in a garage or shed, to prevent rust.
7. Spring Checkup
Before the first mow of the season, give your lawn mower a quick checkup to ensure it’s ready to go.
Check for Leaks: Look for any signs of oil or fuel leaks.
Tighten Bolts and Screws: Make sure all nuts, bolts, and screws are secure.
Fresh Oil and Fuel: Replace any old oil and fill the tank with fresh fuel.
Troubleshooting Common Lawn Mower Problems
Even with proper maintenance, lawn mowers can encounter issues from time to time. Here’s how to troubleshoot some of the most common problems.
Mower Won’t Start
If your mower won’t start, check the following:
Fuel: Make sure there’s fuel in the tank and that it’s fresh.
Spark Plug: Ensure the spark plug is clean and securely connected.
Air Filter: Check if the air filter is clogged.
Uneven Cutting
If your mower isn’t cutting evenly:
Blade Sharpness: Ensure the blade is sharp and properly balanced.
Deck Level: Check if the deck is level, as an unbalanced deck can lead to uneven cuts.
Clogged Deck: Clean out any clippings or debris under the deck that may be obstructing the blade.
Mower Runs Roughly or Stalls
If your mower stalls frequently or runs roughly:
Spark Plug: The spark plug may need to be cleaned or replaced.
Fuel System: Old or contaminated fuel could be the culprit. Consider draining and replacing the fuel.
Air Filter: A dirty air filter can restrict airflow, leading to stalling.
Lawn Mower Maintenance Tips for Different Types
Not all lawn mowers are the same. Maintenance requirements can vary based on whether you have a gas-powered, electric, or battery-operated mower.
Gas-Powered Lawn Mowers
Gas mowers require more maintenance, including oil changes, fuel checks, and spark plug inspections. Be diligent about cleaning and changing parts as needed.
Electric Lawn Mowers
Electric mowers require less maintenance, as there’s no fuel or oil involved. Regularly inspect the power cord for frays and keep the deck clean.
Battery-Operated Lawn Mowers
For battery-powered mowers, the primary maintenance task is battery care. Store batteries in a cool, dry place, and avoid fully discharging them to extend their life.
The Benefits of Regular Lawn Mower Maintenance
Properly maintaining your lawn mower has numerous advantages:
Enhanced Performance: A well-maintained mower cuts more efficiently, leading to a healthier lawn.
Longer Lifespan: Regular upkeep can prevent costly repairs and extend the life of your mower.
Cost Savings: Preventive maintenance reduces the need for expensive repairs and replacements.
Reduced Environmental Impact: Efficient mowers use less fuel or electricity, reducing their environmental footprint.
Final Thoughts on How to Care for Your Lawn Mower
Maintaining your lawn mower may seem like a chore, but it’s well worth the effort. By following these steps, you can ensure your mower is ready to perform its best every season. Set aside time each year for thorough maintenance, and remember to keep up with routine checks. Whether you’re an avid gardener or just looking to keep your yard neat, a little lawn mower maintenance goes a long way in achieving a beautiful lawn.
Maintaining a well-kept lawn requires more than just mowing regularly. One important aspect of lawn care that often gets overlooked is the sharpening of the lawn mower blades. Dull blades not only make mowing more difficult, but they can also damage your grass, leaving it susceptible to disease and stress. So, if you’re wondering “how do I sharpen my lawn mower blades?” you’ve come to the right place. In this blog post, we’ll discuss the importance of sharpening your blades, how often you should do it, and some tips for maintaining sharp blades.
Why Is It Important to Sharpen Lawn Mower Blades?
First and foremost, sharp lawn mower blades are essential for a clean and even cut. Dull blades tear grass instead of cutting it cleanly, leading to a ragged appearance and potentially damaging the grass. Additionally, dull blades can create jagged edges on the grass blades, making them more susceptible to disease and stress. By keeping your blades sharp, you’ll not only achieve a better-looking lawn but also promote overall lawn health.
How Often Do I Need to Sharpen My Lawn Mower Blades?
The frequency at which you need to sharpen your lawn mower blades will depend on how often you mow your lawn and the type of grass you have. In general, it’s recommended to sharpen your blades at least once a year, preferably before the start of the mowing season. However, if you mow your lawn frequently or have a large lawn, you may need to sharpen your blades more often. Some experts suggest sharpening your blades after every 25 hours of use. Ultimately, the key is to monitor the quality of your cut and sharpen the blades whenever they start to show signs of dullness.
Tips for Sharpening Your Lawn Mower Blades
Now that you understand the importance of sharpening your lawn mower blades and how often to do it, let’s discuss some tips for maintaining sharp blades:
1. Safety first: Before you begin sharpening your blades, it’s important to prioritize safety. Make sure the mower is turned off and disconnected from the power source. Wear gloves to protect your hands and consider wearing safety goggles to prevent any debris from getting into your eyes.
2. Remove the blades: To sharpen your blades, you’ll need to remove them from the mower. This typically involves turning the mower on its side and using a wrench to loosen the bolts securing the blades. Once the blades are removed, inspect them for any damage or excessive wear.
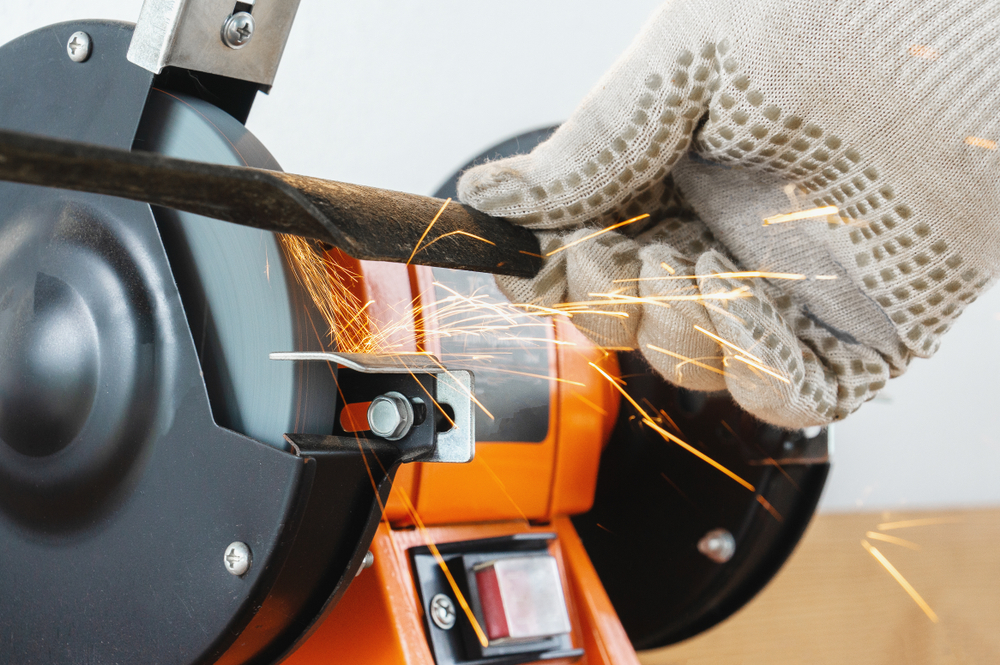
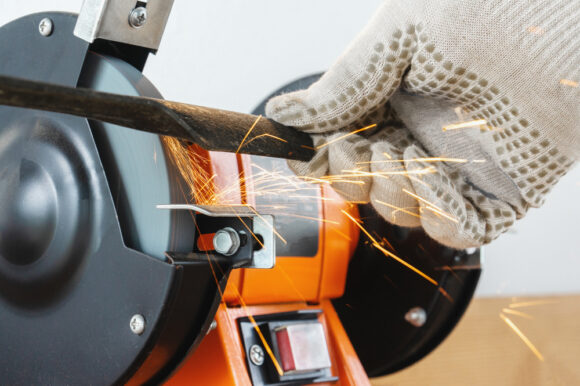
3. Sharpen the blades: There are several methods for sharpening lawn mower blades, including using a grinder, file, or sharpening stone. Whichever method you choose, make sure to maintain the original angle of the cutting edge and remove an equal amount of metal from both sides of the blade to ensure a balanced cut.
4. Check for balance: After sharpening the blades, it’s crucial to check for balance before reattaching them to the mower. An unbalanced blade can cause excessive vibration and damage to the mower. You can check the balance by hanging the blade on a nail or similar object and ensuring it hangs level.
5. Reattach the blades: Once you’ve sharpened and balanced the blades, secure them back onto the mower using the bolts or fasteners. Make sure to tighten the bolts securely to prevent the blades from coming loose during mowing.
6. Test the cut: After sharpening and reattaching the blades, start the mower and test the cut on a small section of grass. If the blades are sharp, you should notice a clean and even cut.
Summary
Sharpening your lawn mower blades is a crucial aspect of lawn care that shouldn’t be overlooked. By maintaining sharp blades, you’ll not only achieve a better-looking lawn but also promote overall lawn health. Remember to sharpen your blades at least once a year, or more frequently depending on use, and follow the tips mentioned above for optimal results. So, the next time you find yourself asking “how do I sharpen my lawn mower blades?” you’ll be well-equipped to tackle the task like a pro.
Need Your Blades Professionally Sharpened in Bells, TN?
Ready to get your lawn mower blades sharpened for a healthier, better-looking lawn? Reach out to us at Hill’s Repair Shop today! We’re here to help you achieve that pristine cut with our expert blade sharpening services. Don’t let dull blades ruin your hard work—give us a call or visit us, and let our skilled team take care of your lawn mower maintenance needs. Your lawn will thank you!
Maintaining a sloped lawn can be a challenging task for many homeowners. Mowing on a slope requires a different approach than mowing on flat ground to ensure the safety of both the person operating the mower and the health of the lawn itself. In this blog, we will discuss some tips and tricks for mowing and maintaining a sloped lawn to help you keep your yard looking its best.
Assess the Slope Before Mowing
Before you start mowing your sloped lawn, it is essential to assess the slope to determine how steep it is. This will help you decide if it is safe to mow and what precautions you need to take. If the slope is too steep, it may be best to use a professional landscaper or consider alternative landscaping options for that area of your yard.
Use the Right Equipment
When mowing a sloped lawn, it is important to use the right equipment to ensure both safety and efficiency. Consider using a self-propelled mower with high rear wheels as they provide better traction on slopes. Additionally, using a mowerwith a low center of gravity can help prevent tipping over while mowing on an incline.
Mow Across the Slope
Instead of mowing up and down the slope, it is recommended to mow across the slope to reduce the risk of accidents. Mowing across the slope allows the mower to maintain better control and prevents it from rolling or tipping over. It may take a bit longer to mow this way, but safety should always be the top priority when mowing on a slope.
Take Your Time
Mowing on a slope requires extra caution and attention to detail, so it is important to take your time and not rush through the process. Slow down and be mindful of your movements to prevent accidents and ensure a clean, even cut. Rushing while mowing on a slope can lead to injuries and damage to your lawn.
Avoid Mowing When the Grass Is Wet
Mowing a sloped lawn when the grass is wet can be dangerous as it increases the risk of slipping and losing control of the mower. Wait until the grass is dry before mowing to ensure proper traction and reduce the chance of accidents. Wet grass can also clump together and make it difficult to get a clean cut, leading to an uneven lawn.
Trim the Edges
When mowing on a slope, it is important to trim the edges of the lawn first before starting the main mowing process. Trimming the edges will provide a clear boundary for the mower to follow and prevent it from slipping off the slope. Use a string trimmer or edger to carefully trim the edges before mowing to ensure a clean and professional-looking finish.
Maintain Your Mower Regularly
To ensure the safety and efficiency of mowing on a slope, it is essential to maintain your mower regularly. Keep the blades sharp and properly adjusted to ensure a clean cut and reduce the strain on the mower. Check the wheels, handle, and other parts of the mower for any signs of wear or damage that could affect its performance on a slope.
Watch Out for Obstacles
Before mowing on a slope, be sure to remove any obstacles such as rocks, branches, or debris that could be a hazard to both you and your mower. Clearing the area of obstacles will prevent accidents and ensure a smooth mowing experience. Be mindful of any dips or holes in the ground that could cause the mower to tip over and adjust your mowing pattern accordingly.
Summary
Mowing and maintaining a sloped lawn requires a different approach than mowing on flat ground. By assessing the slope, using the right equipment, mowing across the slope, taking your time, avoiding mowing when the grass is wet, trimming the edges, maintaining your mower, and watching out for obstacles, you can safely and effectively mow your sloped lawn. Follow these tips and tricks to ensure a beautiful and well-maintained lawn that will be the envy of your neighbors.
Need Outdoor Power Equipment in Bells, TN?
Welcome to Hill’s Repair Shop! We have been locally owned and operated since 1964! In our 58 years, we have dedicated ourselves to providing top-of-the-line sales, service, and repairs for all small engines and equipment. Please give us a call for more information!